How To Shoot a Big Game Animal
by Dan Pickar
I think we can all agree that a complete pass-through on game is ideal and what every bowhunter strives for. As bowhunters we have the responsibility of taking good shots on big game animals. A good arrow setup for your bow, shot angle, and reading the body language of the animal are very important components to executing a perfect shot while out hunting. Let’s dive deeper and take a look at exactly that.
First things first, we need to understand that a trophy bull elk’s needs change from late August to November or December and his needs dictate both his location and his behavior. Let’s start with the early season bull. Also, bear in mind that these time windows are approximate and vary slightly given the region you’re in.

Arrow Setup
First, let’s look at arrow setup. Correct front-of-center (FOC) and total arrow weight as well as your broadhead all must match your bow and the game you are hunting. I’ve broken this into two categories to make it as simple as possible. If you pull less than 60 lbs. and have a draw length under 27 inches, I highly recommend building your hunting arrow for maximized penetration. This means a heavier shaft and a cut-on-contact (COC) broadhead for a total arrow weight near 400 grains. The most important component here is the broadhead. A quality COC broadhead will give you maximum penetration with your setup, but you need to be sure to avoid hitting any heavy bone like a shoulder.
If you pull least 70 lbs. and have at least a 28” draw length, I believe you have a little more freedom with your arrow setup. Your total arrow weight won’t matter as much (although the heavier the arrow, the quieter your bow will be) and you will have plenty of kinetic energy (KE) no matter what to take down a deer or elk. I recommend a minimum of 415-grain total arrow weight under these specs. This will produce plenty of energy for expandable blades or a non-COC broadhead. You will also be able to get away with a little more here when it comes to penetration. Heavy bone on deer-sized game and smaller should be no problem for a quality broadhead to handle. No matter what your setup is, try to keep your hunting bow shooting 300 fps or less as broadhead flight can be more erratic at further distances with a fixed broadhead.
My specifications are as follows: 29” draw, 72 lbs., and 445-grain total arrow weight. This gives me 87 ft lbs of KE and 0.589 slugs of momentum. By Pope and Young standards, 89 ft lbs of KE is enough for a cape buffalo, so it’s pretty obvious I have plenty of energy for moose-sized game and smaller with no issues. It is known that momentum is more important than kinetic energy when it comes to bowhunting, but I’m going to save that discussion for a later article.
Reading Body Language
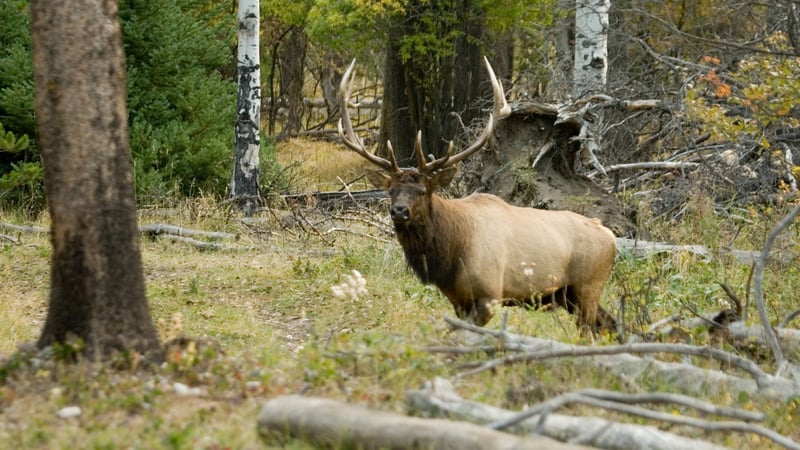
A huge part of making a great shot and clean kill is to read the body language of the animal you are shooting at. There are many factors that contribute to this, from weather conditions, to how quiet your bow is, to everything in between. I think we can all agree an animal that is not alert to your presence, head down feeding, is the most obvious target for a bowhunter to capitalize on. Throw in a little wind noise or the sound of a creek and that animal is not going to hear your bow go off. These are the ideal shot situations and the odds of that animal jumping the string are almost zero. On the opposite end of the spectrum, you have an animal that is alert, looking at you, with ears pointed in your direction. The odds of making a clean shot on an animal with this body language drop dramatically. If it’s a deer or elk, you can bet it’s going to jump the string. That said, a broadside shot under 45 yards is still an ethical one and gives you solid odds of making a clean kill. I’ll always hold on the heart, right above the brisket, expecting a tense animal to drop upon hearing the string; this hold will still give a clean kill. If you’re hunting a skittish whitetail or axis deer, be prepared for that deer to be out of the picture by the time your arrow reaches him at 50+ yards. Another major factor that plays a big role in the animal jumping the string is wind noise. Rustling leaves or a nice 15 mph wind blowing through the pines is all you need for cover noise, which will allow you to sneak up easier on animals but also cover up the sound of your bow going off. Some of my best bowhunting experiences were when I had a nice 10-20 mph wind. When it is so whisper quiet in the woods that you could hear a pin drop, I suggest you find another technique instead of spot and stalk.
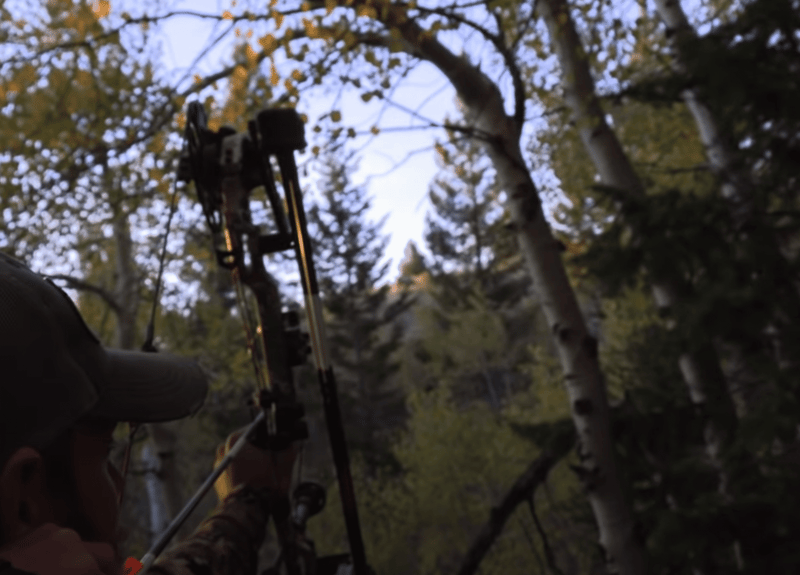
Shot Angles and Placement
OK, now that you have a good arrow for your setup and you know how to read body language, let’s talk shot placement and angles. There are plenty of ways to ethically shoot a big game animal with a bow, but each angle has its challenges. First, we’re going to start with the most obvious and work our way down the list to the most risky and less ideal.
Broadside
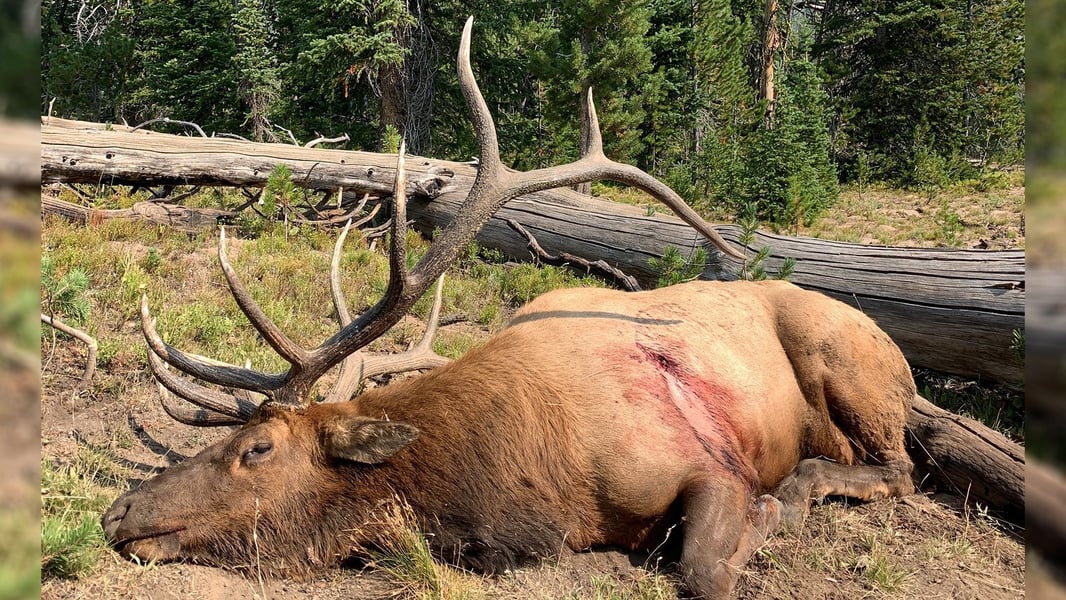
As you can imagine, the perfectly broadside shot is the best angle for shooting any big game animal with a bow. You want to stay off the shoulder blade with this shot, so anywhere mid-elevation and in the crease of the shoulder is going to do the job giving you a double-lung hit with three or four inches margin of error either way. These hits should produce an easy blood trail to follow.
Quartering Away
This is a favorite angle for me and a lot of bowhunters as it exposes the vitals and allows you to drive your arrow into the offside shoulder. This always results in a quick recovery, but don’t expect your arrow to pass through. Remember, your aiming point should be at the offside shoulder. This will give you a double-lung hit every time. A quartering-away shot can vary from slight to extreme, but your aiming point won’t change. As the angle becomes more extreme, your kill zone shrinks and so does room for error with shot placement. Take your time shooting more extreme quartering-away shots and focus on that offside shoulder.
Quartering Towards
Now we are drifting into the more controversial shot angles, so hopefully I can bring up some points that aren’t as obvious. I like quartering-toward shots as they have been very efficient for me on multiple kills, including elk. I am really careful when it comes to these shots and I do not take hard quartering-toward shots; the kill zone is too small and there is little to no room for error, especially on elk. So, an acceptable quartering-toward shot for me is slightly or a 45-degree quartering angle at the most extreme. Just like a quartering-away shot, you have to look at where your arrow is going to exit. This determines your aiming point. On a quartering-toward shot, plan your arrow entrance tight to the shoulder and the exit somewhere in the back of the lungs, stomach or flank depending on the angle. This is a good angle! An arrow passing through the diaphragm will result in the animal expiring quickly, every time. The diaphragm is the fibrous muscle that separates the vital organs (heart and lungs) from the liver, stomach, and intestines, and most importantly, this is the muscle that allows the animal to breathe. If the diaphragm is punctured by your arrow, any animal will suffocate and expire quickly, every time.
Frontal
Frontal shots are the most risky shot angles that you can take, mostly for the simple fact that the kill zone is the smallest and room for error is nil. You’ll see a lot of folks taking frontal shots these days, and sometimes they are very effective and work out, but most of the time they don’t. My rule of thumb for a frontal shot is 20 yards or closer, and I allow myself plenty of time to make a shot; this goes especially for elk. I have shot a few smaller animals frontal but never an elk, and I am OK with that! The most common situation to find yourself in with a frontal shot is calling an elk right to you and it stops, alerted, at 50-70 yards looking directly at where you are calling from. Taking a frontal shot at an alerted elk or any animal frontal will give you a very low kill percentage and a very high wounding ratio, so I defer and pass up that kind of shot unless it’s under 20 yards.
Be sure to check out EASTMANS’ YouTube channel for a complete video called How to Shoot a Big Game Animal for real-life examples, both good and bad, with discussion on shot angles and what does and doesn’t work in the hunting woods.
